Installing a horizontal PDU in rack setups may seem challenging, but with the right approach, it becomes straightforward. Addressing common challenges is essential for a successful installation. Effective cable management helps prevent clutter and maintains an organized workspace. Properly positioning the horizontal PDU in rack configurations ensures adequate airflow, minimizing the risk of overheating. Accessibility is equally important, as it allows for easy monitoring and maintenance of the unit. By prioritizing these factors, you can establish a safe and efficient environment for your equipment.
Tools and Preparation for Horizontal PDU in Rack Installation
Essential Tools for Installation
Before starting the installation, gather the necessary tools to ensure a smooth process. Here are the essential items you’ll need:
Screwdrivers (flathead and Phillips): These are crucial for securing screws during the mounting process.
Cable ties or Velcro straps: These help you manage cables neatly, preventing tangling and ensuring a clean setup.
Level or measuring tape: Use these to align the PDU accurately within the rack.
Wire strippers and cutters: These tools prepare electrical cables by removing insulation and cutting wires when necessary.
Multimeter for voltage testing: This device verifies the power supply by measuring voltage levels.
Torque wrench: Use this to tighten electrical connections securely, ensuring they meet specifications.
Having these tools ready will save time and reduce the risk of errors during installation.
Preparation Checklist
Proper preparation is key to a successful installation. Follow this checklist to get your rack and PDU ready:
Inspect the PDU for damage or missing components: Check for any visible issues, such as dents or missing screws, to avoid complications later.
Identify the rack unit (U) position for installation: Determine the exact location where the horizontal PDU in rack setups will be mounted. This ensures proper alignment with other equipment.
Ensure the rack is stable and has sufficient space: Verify that the rack can support the PDU and has enough room for cables and other devices.
Power off all equipment in the rack for safety: Always turn off connected devices to prevent electrical hazards during installation.
Confirm the infrastructure voltage: Verify that the voltage matches the PDU’s specifications to avoid compatibility issues.
Establish the rack kilowatt budget: Calculate the power requirements of all devices in the rack to ensure the PDU can handle the load.
Determine the circuits, phase, and amperage for the rack: This step ensures the PDU is compatible with your electrical setup.
Learn the rack PDU installation options: Familiarize yourself with the mounting methods, such as wall-mounting or rack-mounting, to choose the best option for your setup.
By completing these steps, you’ll create a safe and efficient environment for your PDU installation.
Step-by-Step Guide to Installing a Horizontal PDU in Rack
Mounting the Horizontal PDU
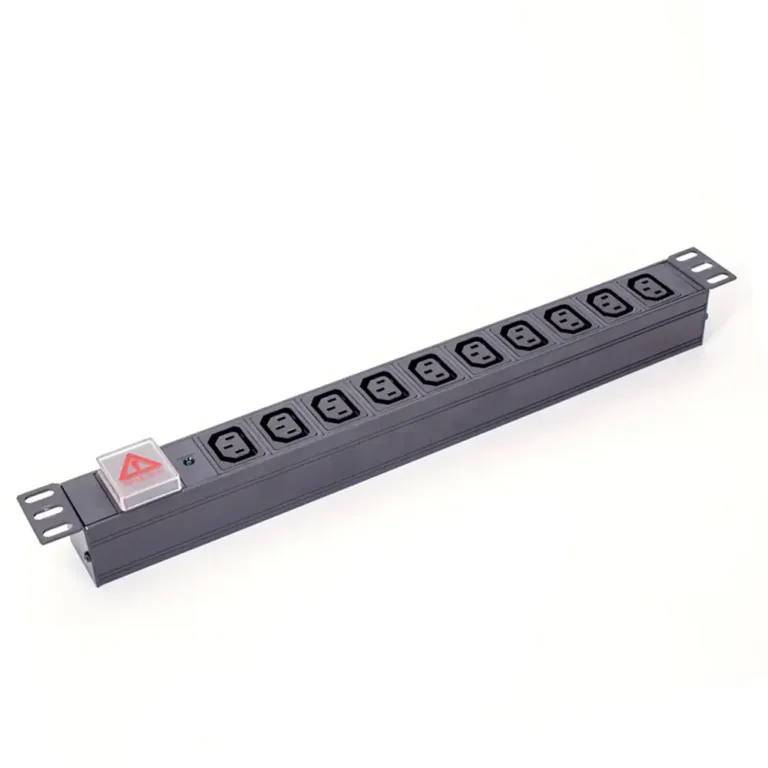
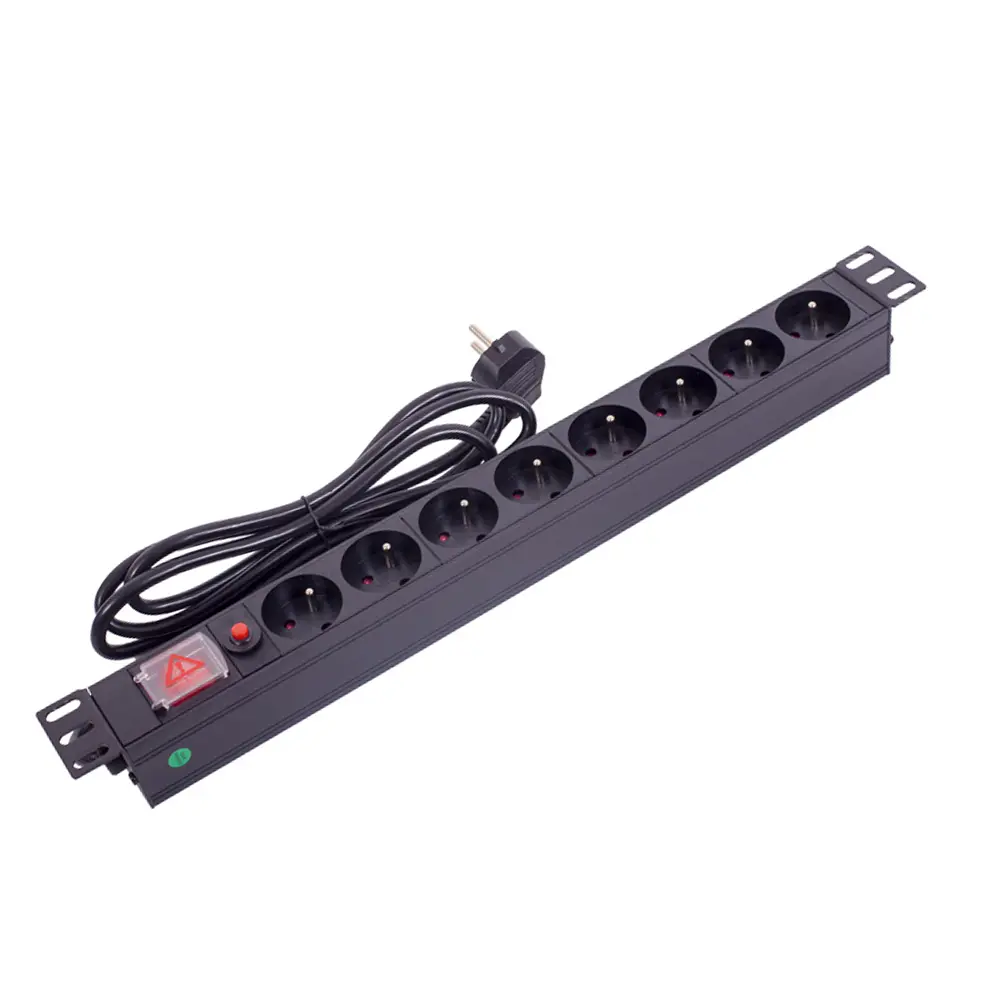
Attach the mounting brackets to the PDU: Begin by securing the mounting brackets to the PDU. For example, the 19 inch 8way French socket switch overload rack PDU includes brackets and screws for this purpose. Ensure the brackets are tightly fastened to provide stability during installation.
Align the PDU with the designated rack unit (U) position: Position the PDU in the rack at the pre-determined unit (U) level. This placement should allow easy access to the outlets without obstructing other equipment. Maintaining proper alignment ensures a professional and functional setup.
Secure the PDU to the rack using screws or fasteners: Use the provided screws or fasteners to attach the PDU to the rack. Tighten the screws evenly to prevent misalignment. Following manufacturer guidelines ensures the PDU remains securely in place.
Tip: Place the PDU in a location that does not block airflow. This step helps maintain proper heat dissipation and prevents overheating.
Securing the PDU in Place
Double-check that the PDU is firmly attached: After mounting, inspect the PDU to confirm it is securely fastened. A loose PDU can cause operational issues or damage connected devices.
Ensure the PDU is level and aligned with other rack equipment: Use a level to verify that the PDU is straight. Proper alignment enhances the rack’s overall appearance and functionality.
Note: Test the PDU’s output with a multimeter to confirm consistent power delivery. This step ensures the unit operates reliably and prevents disruptions.
Use cable ties or Velcro straps to secure cables in place: Bundle the cables using ties or straps to keep them organized. This practice prevents tangling and makes future maintenance easier.
Label cables for easy identification and troubleshooting: Attach labels to each cable, referencing circuit numbers or connected equipment. Labeled cables simplify maintenance and speed up troubleshooting during equipment shutdowns.
Pro Tip: Invest in cable management accessories like horizontal or vertical cable managers. These tools help maintain an organized and efficient setup.
By following these steps, you can install a horizontal PDU in rack configurations effectively. Proper mounting, securing, and cable management ensure a safe and efficient environment for your equipment.
Best Practices for Horizontal PDU Installation
Optimal Placement of Horizontal PDUs
Proper placement of your horizontal PDU in rack setups ensures efficient operation and easy maintenance. Follow these steps for optimal positioning:
Place the PDU at the rear of the rack. This location provides convenient access to outlets while keeping the front area clear for other equipment.
Avoid blocking airflow. Ensure the PDU does not obstruct ventilation paths, as this can hinder cooling and lead to overheating.
Implement effective cable management. Neatly route cables to minimize clutter and enhance airflow.
Position the PDU within arm’s reach. This placement allows you to monitor and service the unit without difficulty.
Distribute power evenly across PDUs. Balanced power usage prevents overloading and ensures stable performance.
Tip: Use a level to align the PDU with other equipment. Proper alignment improves the rack’s appearance and functionality.
Airflow and Cable Management
Maintaining proper airflow is critical for the performance and longevity of your equipment. Poor cable management can obstruct ventilation and increase the risk of overheating. To optimize airflow:
Ensure cables do not block ventilation paths. Arrange them neatly to allow air to circulate freely.
Use blanking panels if necessary. These panels fill unused rack spaces, directing airflow to active equipment and improving cooling efficiency.
Note: Keeping cables organized not only enhances airflow but also simplifies troubleshooting and maintenance.
Avoiding Common Installation Mistakes
Avoiding mistakes during installation helps you maintain a safe and efficient setup. Here are some common errors to watch out for:
Do not overtighten screws. Excessive force can damage the PDU or rack components. Tighten screws just enough to secure the unit firmly.
Ensure all wires are tightly secured and properly insulated. Loose or exposed wires can lead to dangerous electrical hazards.
Wear insulated gloves and safety goggles for personal protection. These items shield you from potential shocks and debris.
Use tools with insulated handles to reduce the risk of electrical shock. Non-insulated tools can conduct electricity, posing serious dangers.
Verify that the PDU meets UL or equivalent safety certifications. Certified products ensure reliability and compliance with safety standards.
Follow local electrical codes during installation. Adhering to these regulations ensures a safe and compliant setup.
⚠️ Important: According to OSHA, electrical shocks are the fourth leading cause of fatalities on construction sites. Even minimal contact with 1 to 3 milliamperes can cause painful shocks, while higher levels may result in severe injury or death. Always use insulated tools to protect yourself and avoid legal liabilities.
Ensuring Rack Stability
A stable rack prevents accidents and ensures the longevity of your equipment. Use these best practices to maintain rack stability:
Anchor the rack securely to the floor or wall. Proper anchoring prevents tipping, especially in high-traffic areas or during maintenance.
Distribute weight evenly across the rack. Uneven weight can cause the rack to become unbalanced, increasing the risk of tipping.
Align the PDU with the rack’s structure. Misalignment can compromise stability and make it harder to access equipment.
Bundle cables neatly to avoid tangling and interference. Effective cable management reduces strain on the rack and improves overall stability.
💡 Tip: Use a level to check the rack’s alignment after installation. A well-aligned rack not only looks professional but also ensures optimal performance and safety.
By following these safety considerations, you can create a secure and efficient environment for your horizontal PDU installation.
Troubleshooting Common Issues with Horizontal PDUs
PDU Not Powering On
When your PDU fails to power on, start by checking the basics.
Inspect the power source: Ensure the PDU is securely plugged into a functioning outlet. Loose connections can disrupt power flow.
Examine the circuit breaker or fuse: Look for tripped breakers or blown fuses in the electrical panel. Reset the breaker or replace the fuse if necessary.
💡 Tip: Use a multimeter to verify the voltage at the outlet. This step confirms whether the power supply is consistent and within the PDU’s specifications.
Loose or Misaligned PDU
A loose or misaligned PDU can compromise the stability of your rack setup. Address this issue promptly to avoid further complications.
Recheck the mounting brackets and screws: Inspect all brackets and screws to ensure they are securely fastened. Tighten any loose connections.
Verify alignment: Confirm that the PDU is properly aligned with the rack’s structure. Use a level to check for straightness.
Address wiring issues: If the PDU remains unstable, review the wiring diagram provided by the manufacturer. Ensure all phase wires are connected correctly.
Consult a professional: Persistent alignment or stability problems may require assistance from an electrician.
🛠️ Pro Tip: Use the brackets or toolless mounting options included with your PDU for optimal stability and alignment.
Cable Management Problems
Disorganized cables can lead to tangling, airflow obstruction, and maintenance challenges. Effective cable management resolves these issues and enhances your setup.
Reorganize cables: Arrange cables neatly to eliminate tangling or obstruction. Avoid sharp bends that could damage the insulation.
Secure cables with ties or straps: Use cable ties or Velcro straps to bundle cables together. This practice keeps them organized and prevents accidental disconnections.
Implement color-coding: Assign colors to cables based on their function or connection. This method simplifies identification and troubleshooting.
Invest in cable management accessories: Use trays, vertical managers, or patch panels to maintain a structured and professional appearance.
🌟 Long-term Benefits: Proper cable management improves airflow, enhances cooling efficiency, and reduces troubleshooting time. It also supports scalability and ensures the safety of your equipment.
By addressing these common issues, you can maintain a stable, efficient, and well-organized rack setup. Regular audits and proactive maintenance will help prevent recurring problems.
Installing a horizontal PDU in rack setups, like the 19 inch 8way French socket switch overload rack PDU, becomes straightforward with proper preparation and attention to detail. Begin by securing all wires and testing the PDU’s output to ensure consistent power delivery. Conduct a post-installation checklist to verify connections and troubleshoot any issues. Proper cable management enhances airflow, improves equipment performance, and simplifies maintenance. Labeling cables and separating fiber from copper prevents interference and supports cooling efficiency. By following these steps, you can create a safe, efficient, and well-organized rack system.
FAQ
What is a horizontal PDU, and why is it important?
A horizontal PDU is a power distribution unit designed to fit horizontally in a server rack. It provides multiple outlets for powering devices. Its importance lies in efficient power management, organized cable routing, and ensuring safe, reliable electricity distribution in data centers or server rooms.
How do I choose the right horizontal PDU for my rack?
Consider your rack’s size, power requirements, and outlet type. Check the PDU’s amperage, voltage, and compatibility with your devices. For example, the 19-inch 8-way French socket switch overload rack PDU suits racks needing multiple French-style outlets and overload protection.
Can I install a horizontal PDU without professional help?
Yes, you can install it yourself by following a step-by-step guide. Use the right tools, ensure the rack is stable, and power off all equipment. Refer to the manufacturer’s instructions for mounting and cable management to ensure a safe setup.
What safety precautions should I take during installation?
Always turn off power before starting. Use insulated tools and wear protective gear like gloves and goggles. Verify the PDU’s voltage matches your electrical setup. Anchor the rack securely to prevent tipping, and avoid overloading the PDU to ensure safe operation.
How do I maintain proper cable management with a horizontal PDU?
Route cables neatly to avoid tangling. Use cable ties or Velcro straps to secure them in place. Label each cable for easy identification. Invest in cable management accessories like trays or vertical organizers to keep your setup clean and efficient.
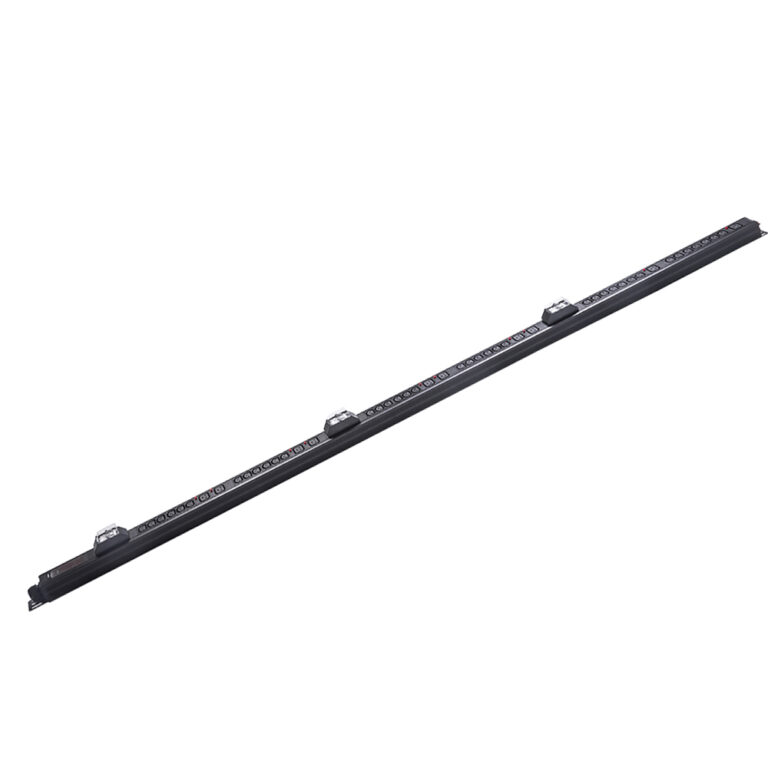
Vertical rackmount PDUs maximize space, improve cable management, and offer advanced power monitoring, making them essential for high-density data centers.
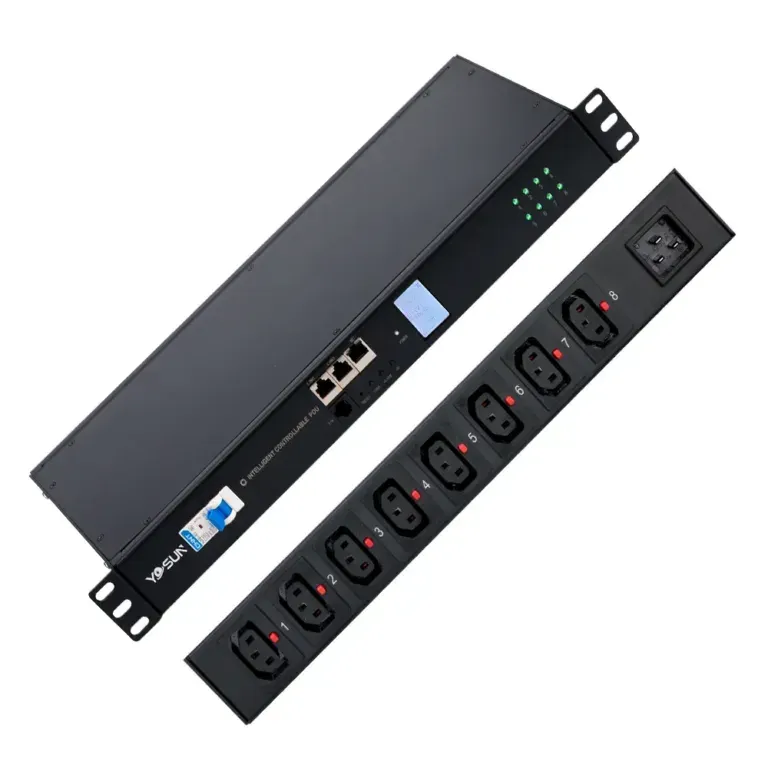
Intelligent rack PDUs offer real-time monitoring, remote control, and energy savings, making them superior to basic rack pdus for efficient data center management.
Discover the top horizontal rack mount PDUs for 2025, offering reliable power distribution, space optimization, and advanced features for modern IT setups.